If you’re planning to install Windows on a new laptop or computer, creating a bootable USB drive is an essential first step. This guide will walk you through the process of making a bootable USB drive using PowerISO, a popular tool for managing disc images. Whether you’re a beginner or an educator teaching this process, follow these steps to ensure a smooth Windows installation.
Why Create a Bootable USB?
A bootable USB drive allows you to install or repair an operating system without needing a physical disc. It’s especially useful for laptops and computers without CD/DVD drives. You can use the bootable USB to load the Windows installation files and install the operating system directly.
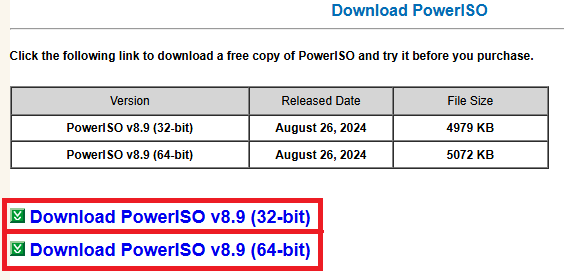
Step 1: Download and Install PowerISO
- Visit the official PowerISO website and download the latest version of the software.
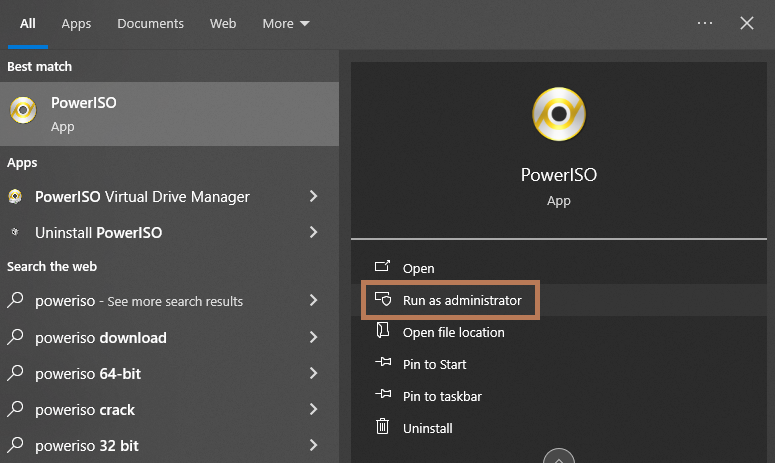
- Install PowerISO. Once installed, launch the program.
Step 2: Prepare Your USB Drive
- Insert your USB drive (at least 8 GB) into your computer’s USB port.
- Make sure the drive is empty, or back up your files, as the process will format the USB drive, erasing all its data.
Step 3: Open the Windows ISO File in PowerISO
- In PowerISO, click on the “Open” button and locate your Windows ISO file. If you don’t have a Windows ISO file, you can download it from Microsoft’s official website.
- Once the ISO file is loaded, you’ll see the contents of the Windows installation in PowerISO.
Step 4: Create a Bootable USB Drive
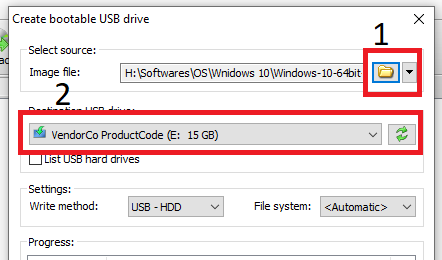
- Click on “Tools” in the PowerISO menu and select “Create Bootable USB Drive”.
- In the dialog box that appears:
- Select your USB drive from the “Destination USB Drive” dropdown.
- Ensure the “Write Method” is set to “USB-HDD”.
- Confirm the ISO file path under “Source Image File” matches the Windows ISO file.
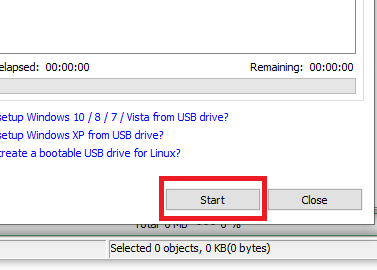
Click “Start” to begin the process. A warning will appear that your USB drive will be formatted—click “OK” to proceed.
Step 5: Wait for the Process to Complete
PowerISO will now create your bootable USB drive. This process may take a few minutes depending on the speed of your computer and USB drive. Once it’s complete, you’ll receive a notification that the USB drive is ready.
Step 6: Set Your Computer to Boot from USB
- Insert the bootable USB drive into the computer where you want to install Windows.
- Restart the computer and enter the BIOS or UEFI settings (this usually involves pressing a key like F2, F10, or Delete during startup).
- In the boot order menu, set the USB drive as the primary boot device.
- Save the settings and restart the computer. The Windows installation process will begin from the bootable USB.
Conclusion
Creating a bootable USB drive with PowerISO is a simple process that allows you to install Windows efficiently on a new computer. By following these steps, you’ll have a fully functional USB drive ready for installation in no time. Whether you’re setting up a laptop or teaching others, this guide simplifies the process of installing Windows using a bootable USB.